Enhancing your outdoor house with LED panorama lights can notably recuperate its aesthetic attraction and performance. Whether you prefer to light up a pathway, highlight architectural positive aspects, or create a secure setting in your garden, correct set up is essential to attaining the desired result. This instruction manual will walk you by way of the simple steps of setting up LED landscape lighting, guaranteeing that your mission is successful from leap to finish.
Understanding LED Landscape Lighting
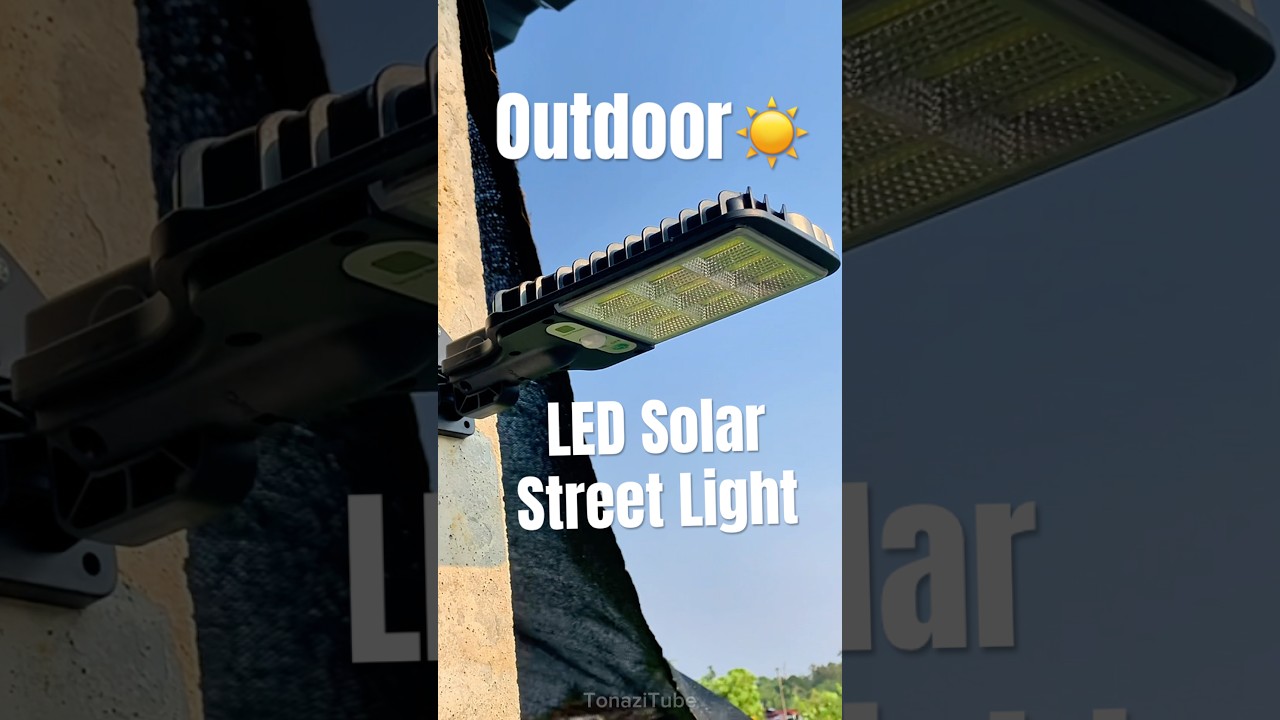
LED panorama lighting refers to vitality-useful lighting fixtures systems designed for open air use. These lights are available in varying types and services, which includes pathway lighting, driveway lighting fixtures, backyard lighting fixtures, patio lighting, and extra. The merits of LED techniques comprise their lengthy lifespan, low vigor consumption, and flexibility in design.
When inquisitive about your outdoor lighting, examine how it is going to expand defense, defense, and aesthetics. For example, good-lit pathways not basically stop injuries but also upload a welcoming touch. Similarly, highlighting trees or architectural characteristics can change into the atmosphere of your yard at night time.
Planning Your Lighting Design
Before you get started digging and wiring, spend time on making plans. A considerate format will make install smoother and confirm Astrolux local landscape lighting Surrey that you just succeed in the preferred seem to be.
Assess Your Space
Begin by inspecting your backyard or outdoor region. Identify key options you want to light up—these may be timber, shrubs, entryways, or water functions. Consider how these features have interaction with traditional pale for the period of totally different times of day.
Create a Lighting Plan
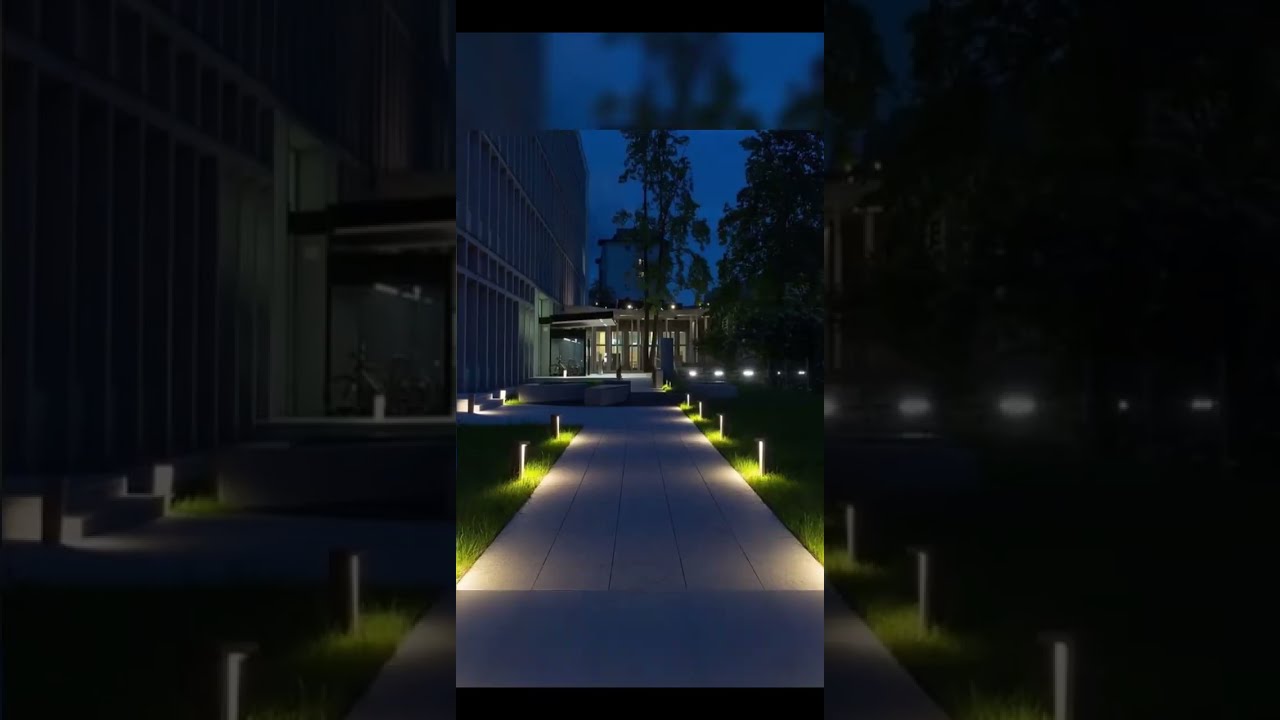
Draw a essential map of your panorama and mark wherein you plan to area every one easy fixture. The objective is to create layers of light for depth: use trail lighting fixtures along walkways for protection at the same time as employing uplights on bushes for dramatic impact. Be aware of spacing; lighting fixtures should always be placed approximately 10 to fifteen feet apart for even illumination.
Choose Your Fixtures
Select furniture headquartered on their reason and variety. Pathway lighting are most commonly shorter and designed to solid faded downward for defense. Uplights are positioned at floor stage to spotlight vertical features like bushes or partitions. Remember that coloration temperature subjects too; heat white mild (round 2700K) creates a comfy environment whilst cool white (round 5000K) affords a greater trendy suppose.
Gathering Materials
Once you have got a plan in region, bring together all needed material sooner than commencing your venture. Here’s what you could generally need:
LED Light Fixtures: Choose exceptional contraptions applicable for open air use. Low-Voltage Transformer: This converts universal voltage from your house into low voltage trustworthy for landscape lights. Low-Voltage Wire: Use direct burial wire rated for out of doors installations. Connectors: Waterproof connectors are predominant for nontoxic connections. Tools: You’ll want wire cutters/strippers, a shovel or trenching tool if burying cables, and probably stakes or anchors for securing furniture.Step-by way of-Step Installation Process
With your parts all set and plan customary, follow these steps to install your LED panorama lighting properly.
Step 1: Lay Out the Fixtures
Before making any permanent changes, region the light furniture in response to your plan with no securing them in vicinity but. This lets in you to visualize how they'll Astrolux driveway lighting Surrey seem when turned on at night time.
Step 2: Mark Cable Routing
Once convinced with the location of furniture, mark the course the place the low-voltage cord will run between every fixture and from the transformer vicinity again for your capability source—this could be an outdoors outlet or another suited connection factor.
Step three: Dig Trenches for Wiring
Depending on neighborhood codes and private alternative, you can opt for to bury the cord or leave it above flooring because of stakes along pathways or flower beds. If selecting burial (that is characteristically urged), dig trenches approximately 6 inches deep alongside the marked route.
Step 4: Install Fixtures
Secure each and every fixture in its exact spot in step with manufacturer commands—this may occasionally contain inserting stakes into the floor or solving them permanently if wanted. Ensure that any adjustable furniture are oriented closer to their meant objective side in the past tightening screws fully.
Step five: Run Low-Voltage Wire
Lay down the low-voltage twine by means of the trenches in the direction of both fixture at the same time guaranteeing connections among wires are take care of with the aid of water resistant connectors where imperative. Connect one give up of this wiring to come back to the transformer location as recommended by its user manual.

Step 6: Connect Transformer and Test Lights
Following all defense precautions defined in product manuals:
- Connect wires from fixtures into terminals on the transformer. Plug in or activate capability at the source. Test both faded for my part formerly finalizing any burial paintings; alter angles as obligatory now instead of later whilst all the pieces is covered up!
Step 7: Bury Wires (if suitable)
If you've got selected to bury wires underground:
- Carefully cowl them to come back up with soil without damaging insulation. Ensure no sharp objects penetrate using after finishing touch—give some thought to including mulch over regions as one other shielding layer towards means wreck from landscaping actions later on.
Maintenance Tips for Longevity
Regular renovation guarantees that your LED panorama lighting remains useful through the years:
Clean Fixtures Regularly: Dust accumulation can minimize brightness; wipe down furniture each and every few months. Check Connections: Periodically inspect wiring connections in the course of cleanings; substitute any corroded connectors automatically. Adjust Timers/Sensors: If via shrewd open air lighting fixtures treatments with timers/sensors regulate them centered on seasonal differences affecting daylight hours. Inspect Bulbs: Although LEDs last longer than traditional bulbs take a look at their efficiency yearly; faulty bulbs deserve to get replaced at once with well matched features.When Professional Help May Be Necessary
While many property owners can even locate DIY install undemanding adequate there are times when hiring gurus makes sense—particularly if pastime difficult tradition designs regarding multiple zones or smart integration procedures requiring superior electrical understanding.
Professional lights facilities may also support be certain reviews for Surrey Landscape Lighting Astrolux compliance with neighborhood regulations with regards to electrical paintings exterior which differ generally based upon location—and this should prevent equally headaches down highway in addition to doable fines!
Conclusion
Installing LED landscape lights can develop into no longer simply how a area looks after dark but additionally boost its usability all over night time hours—a authentic funding into the two splendor and function! By following those steps fastidiously from planning with the aid of execution—such as protecting those amazing new furniture—you are going to take pleasure in breathtaking outcomes yr-circular devoid of pointless rigidity along means forward in the direction of brighter nights beforehand!
Surrey Landscape Lighting Astrolux 17033 Fraser Hwy, Surrey, BC V4N 6V2 +1 778-786-0789